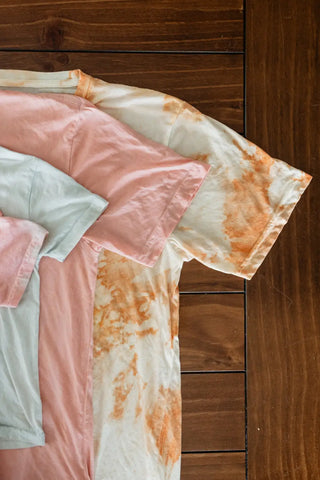
If you’ve been following along with us on Instagram then you know I’ve had this thing for natural dyes recently. I’m not sure if this obsession was inspired by the fact that tie dye is making a comeback (which I am NOT mad about) OR if I was just simply looking for a new way to flex my creative muscle, but during the past month I’ve basically dyed each and every white tee in our home using nothing but food scraps and spices. Crazy, right? The best part is the outcome – unlike your traditional loud tie dyes the colors come out soft and neutral, totally aligning with the Polished Prints vibe. Plus, there is NO WASTE so not only is it a score for your wardrobe, it’s a score for the environment too.
So now that I’ve dyed pretty much every white garment in our home, I’ve decided to spread the love by not only sharing the details with you but also bringing a small collection of basic food dyed tees to the shop, dropping on Monday July 19. So first thing’s first, here’s a look at how I dyed the tees, what to expect and why I chose this method versus others:
Step 1: Getting Started – What You Need
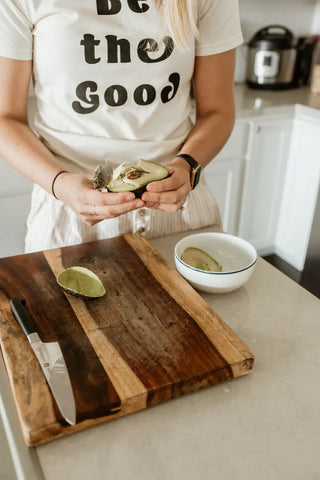
The best part about natural dyes is that there is absolutely no waste because you’re using scraps from food that has been or could potentially be consumed. For me, I determined which foods I was going to use based on the colors I had in mind. I knew I wanted rich yet delicate tones and that the color palette needed to compliment the PP aesthetic, so I focused on the following:
- Light Blue – Black Beans
- Rose – Avocado Skins / Seeds
- Mustard Yellow – Turmeric
For the sake of not getting too windy with this blog, I’m just going to focus on the avocado dyes as they seem to be the most popular.
Here’s a look at what you need:
- 3 Avocado Seeds + Peels (pre-washed to remove the green)
- A large pot to boil the water / make the dye
- Large container to store the dye
- Strainer
- Large Spoon
- Fabric or garments that are 100% cotton
Step 2: Pre-Soaking the Fabric
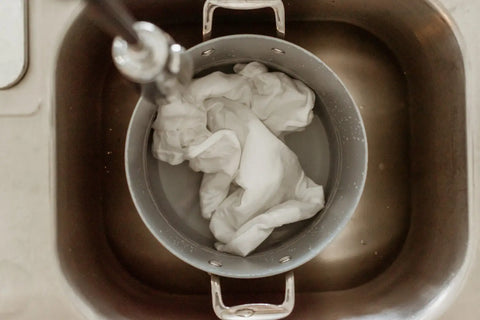
Next, I grabbed the garments I wanted to dye and soaked them all in a big bucket of water. If you don’t have a bucket, I would also recommend just running them through the washing machine so they’re fully damp. You’re going to want to soak your garments for at least an hour so they’re fully immersed and ready for the dying process.
Step 3: Making the Dye
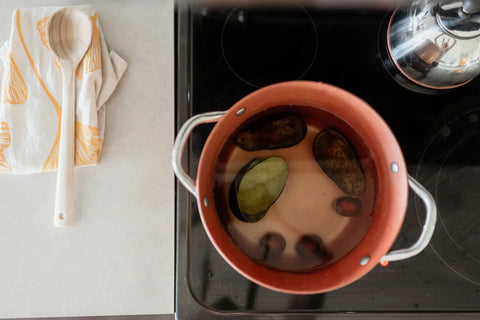
Once I had the garments soaking in water in one bucket, I pulled out my 7 QT stock pot, filled it with water, placed it on the stove and turned up the heat. I threw in my Avocado seeds and peels and once the water reached a boil I turned down the heat to a simmer. I then let it simmer for 1 hour.
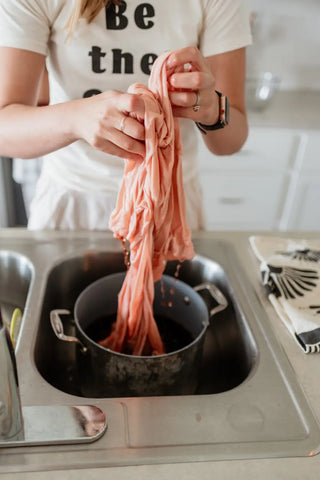
Once the hour was up I placed the large container in the sink with a strainer over it, then took the heated water from the stove and poured it through the strainer to remove any pieces of avocado. The product is a beautiful rose-colored dye!
Step 4: Dying your garments
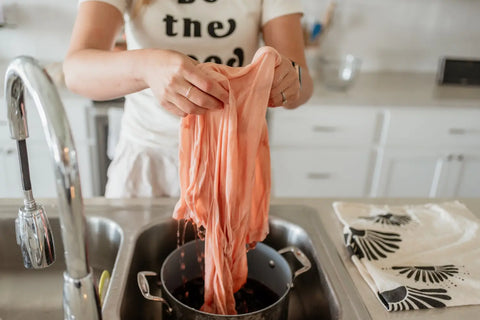
Depending on how rich you want the dye, you can either dilute it with water or keep it pure. I chose to simply add my dye to the container of water I already had with my garments. I just poured in all the dye and used a large spoon to mix it in to the garments.
Once it was mixed in, I let it sit for an hour. Then I stirred it again and let it sit for another hour.
Step 5: The Finished Product

Once the two hours were up I poured the dye from the container down the drain and took the soaking wet garments outside to dry. I’ve also used the dryer for this and have found that both turn out just fine – it’s really just all about preference.
Once the garments are dried I typically run them back through the washing machine to wash out any excess dye and then dry them again. After that, they’re all finished and ready to be worn!
The Final Scoop
So that’s that! It sounds too easy and the truth is that it really is. The greatest challenge is patience and time. It takes a LOT of time to not only build up your supply of food scraps, but also to actually dye the garments. The process itself takes several hours and when it comes to scraps, well I literally eat an avocado for breakfast every day and save all the peels and seeds in the freezer. Even then it’s taken me several weeks to have enough to dye the number of garments I needed to be able to add them into the shop.
Many people have asked us about whether the dyes wash out and the answer is NO for Avocados and Tumeric, YES for black beans if you don’t use a mordant. SO, what’s a mordant? Well, a mordant is an agent that fixes the dye into the fabric. For black beans I’ve used a handful of dashes of Alum, which can be found in the spice section at the grocery store. I just mix it into the black bean dye before I add the garments and it seems to hold everything together.
Another common question is , how long can you store the dyes? I think it totally depends. I’ve saved mine for weeks at a time and never really had a problem with fading, but I think it all depends on the environment in which you store it. I store mine in the refrigerator.
Lastly, what is consistency like with hand-dyed garments? Well, in my experience there really isn’t any. The colors will generally be the same but their boldness will differ with each batch. The way they take to the garments will differ too, so some pieces will have more coverage and others will have more of a tie-dye feel. This is also something you will notice when purchasing hand-dyed tees from us – they will generally have the same look and feel, but the details will differ from shirt to shirt which in our eyes just makes them more unique.
And there you have it, friends, the ins and outs of natural hand-dyed tees! We can’t wait to get these in your hands on August 19 and hope you give it a try too! Make sure to tag us in your project photos with #PPvibes!


Leave a comment